Ever since moving into my new apartment, all I’ve wanted to do is decorate it. Decorate the walls, the windows, the bed and litter as much of it with books and fairy lights as I physically could.
But along the way, I hit the biggest snag which was realising I couldn’t hang anything on the walls with nails or do anything that would damage them per say. And so after some long pinterest and tumblr surfing and failure to become friends with washy tape, I devised my own slightly simpler way of decorating my bare walls.
1. Collect a bunch of your favourite photos, in different sizes, and lay them out on the floor as you would like to display them
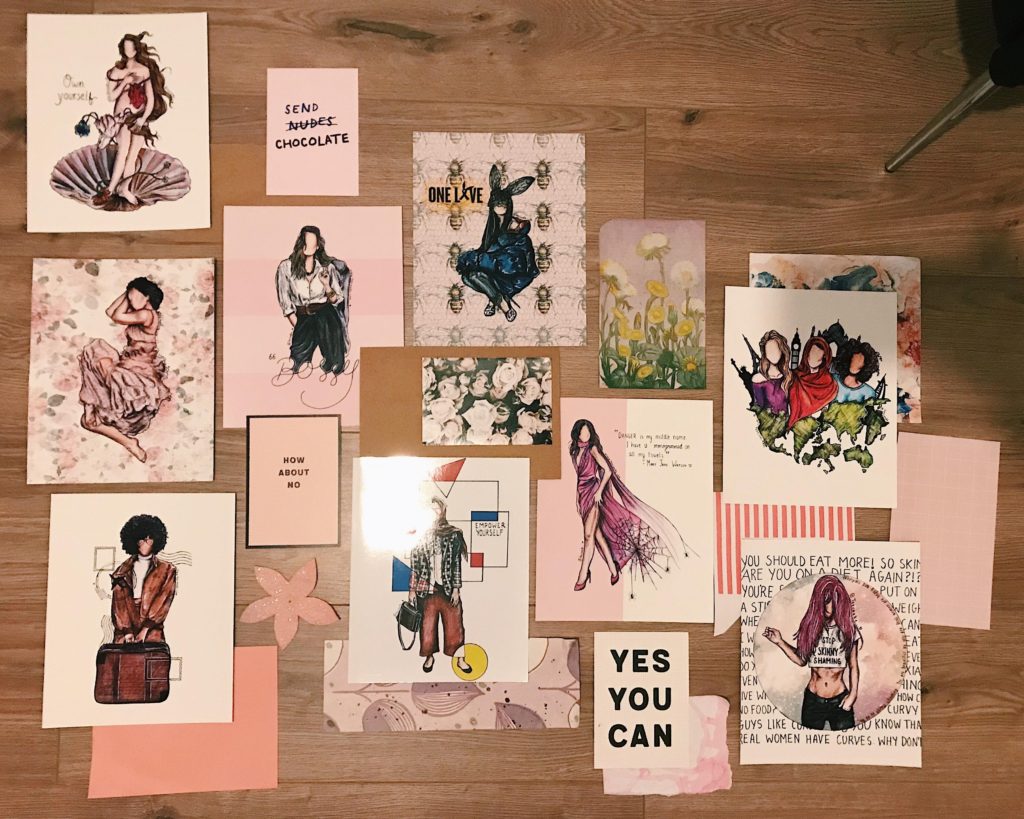
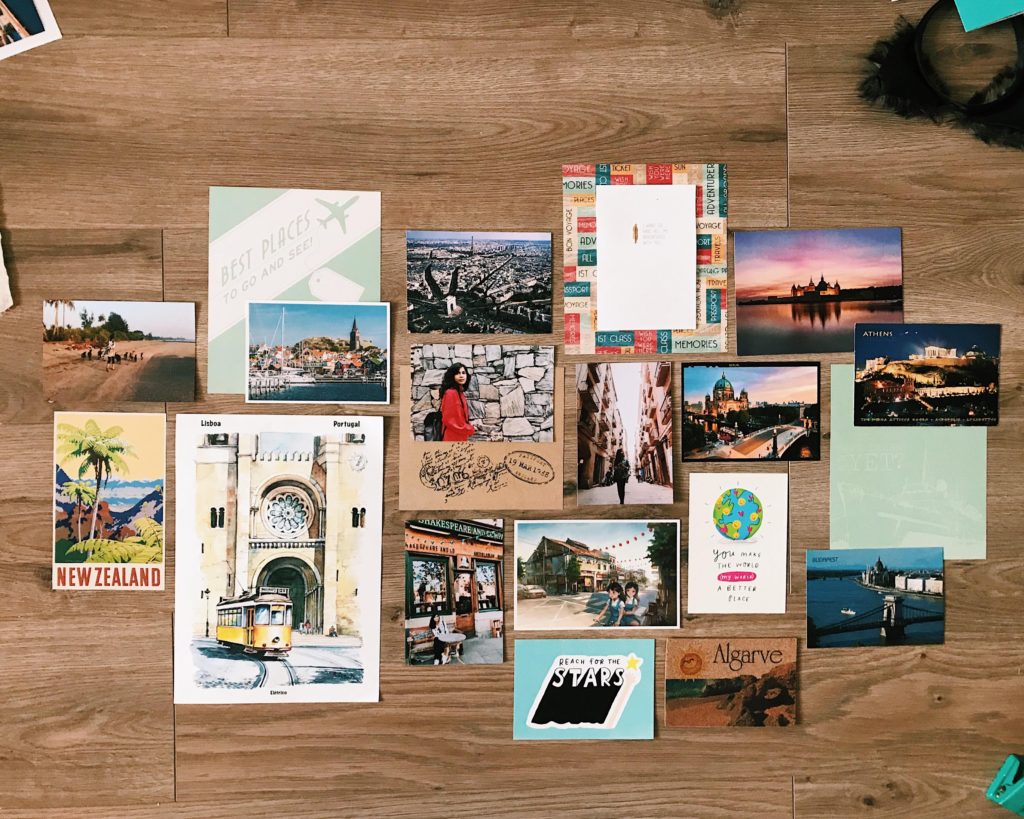
The variety in sizing will really give your photo wall that eclectic collage look, but feel free to use the same sized photos if that’s not your style. Nonetheless, don’t be afraid to experiment with the different heights and positions of photos. I generally like to line up some of my photos and leave the rest to chance.
2. Develop a theme and match colours/hues
This is a crucial step. Once your wall is up, you will have to look at it everyday so really take some time to lay out a bunch of pictures you think you might want to put up and try to arrange them in some sort of colour matching order.
For my first wall, I wanted to create a travel themed photo wall to go in front of desk so that I could be inspired by all the places I’d been to every time I sat at my desk.
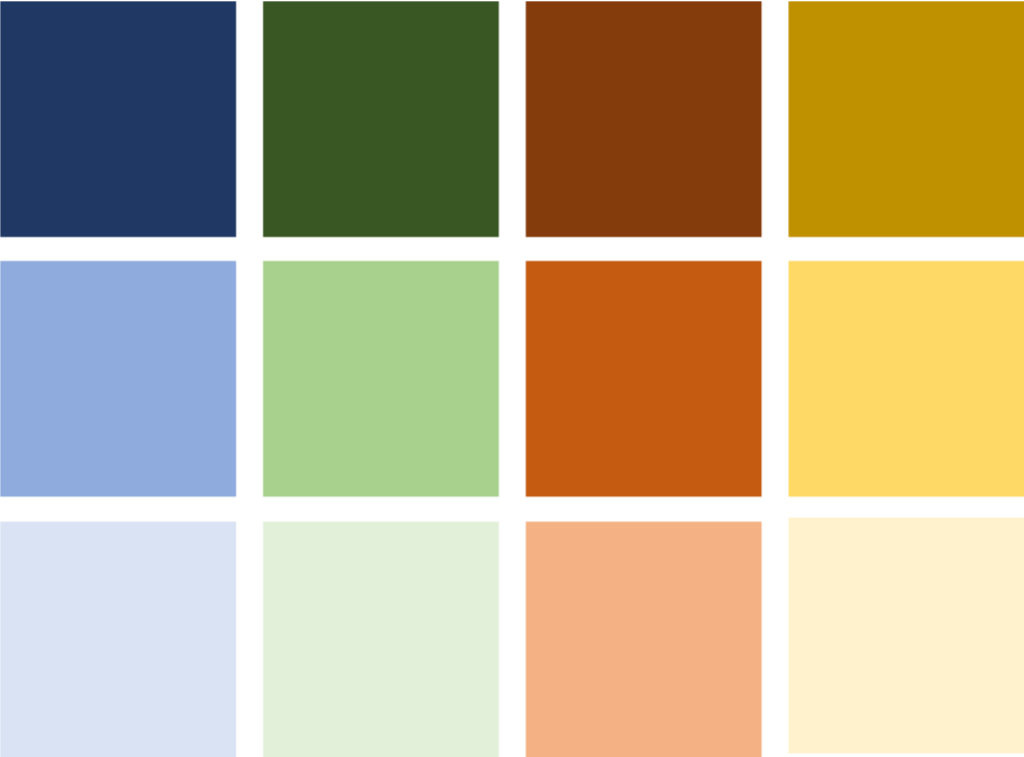
For colour matching, this can be from lightest to darkest in a shade, or a mixture of colours in the same tone. For example, I am a big fan of brown, earth tones and so I picked photos that I thought would go well with those colours.
3. Add some layers and separate our your photos with some craft or patterned paper of similar colours
This is my mind is what really sets apart your layout from others, and it’s so easy!
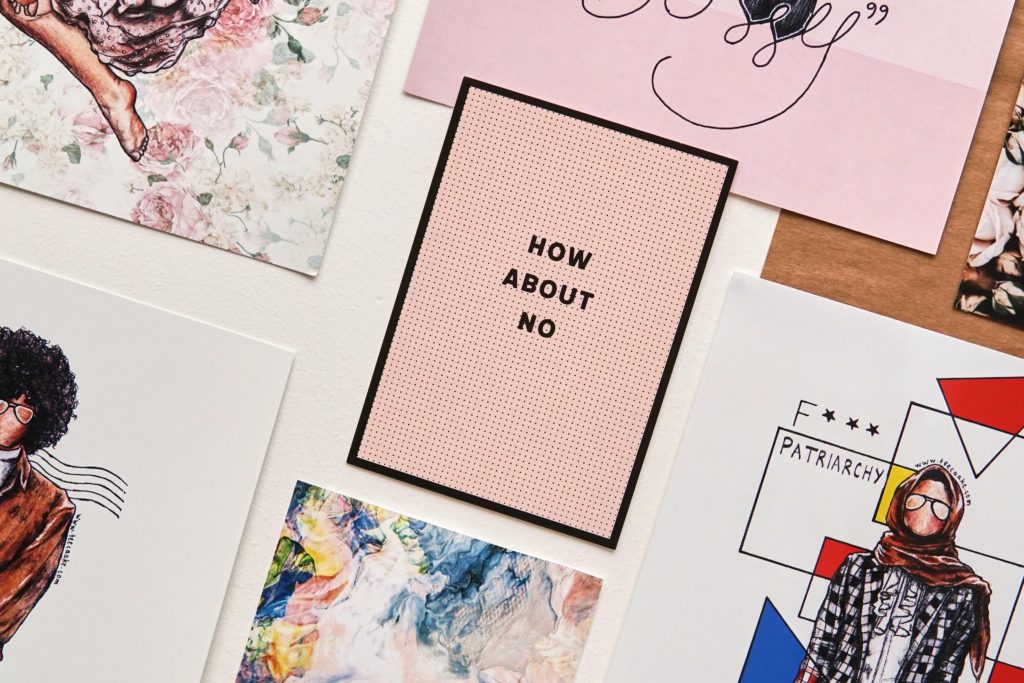
I used a bunch of scrap bits of paper I have collected over the years that I thought would go well with the photos. My favourite additions however were these super cute postcards I picked up from Paperchase which happened to go perfectly with my theme.
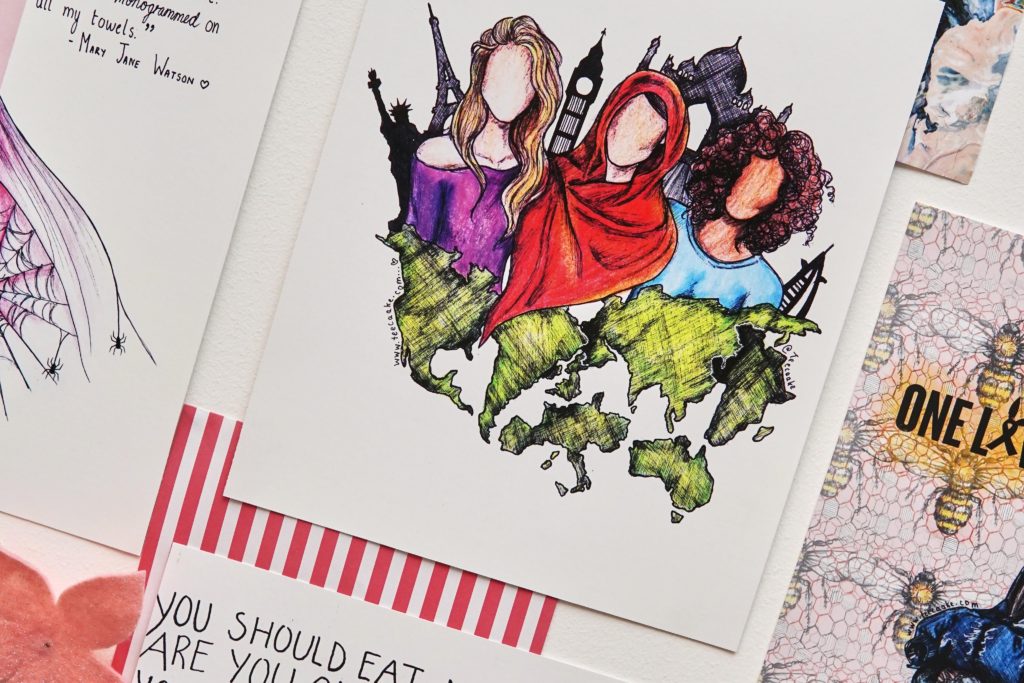
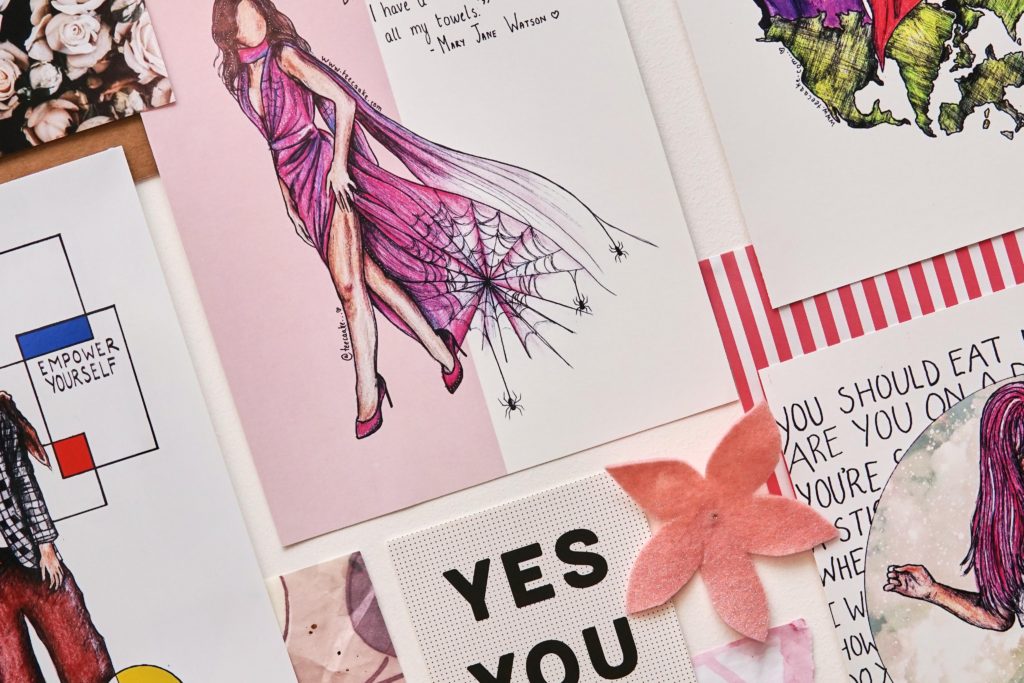
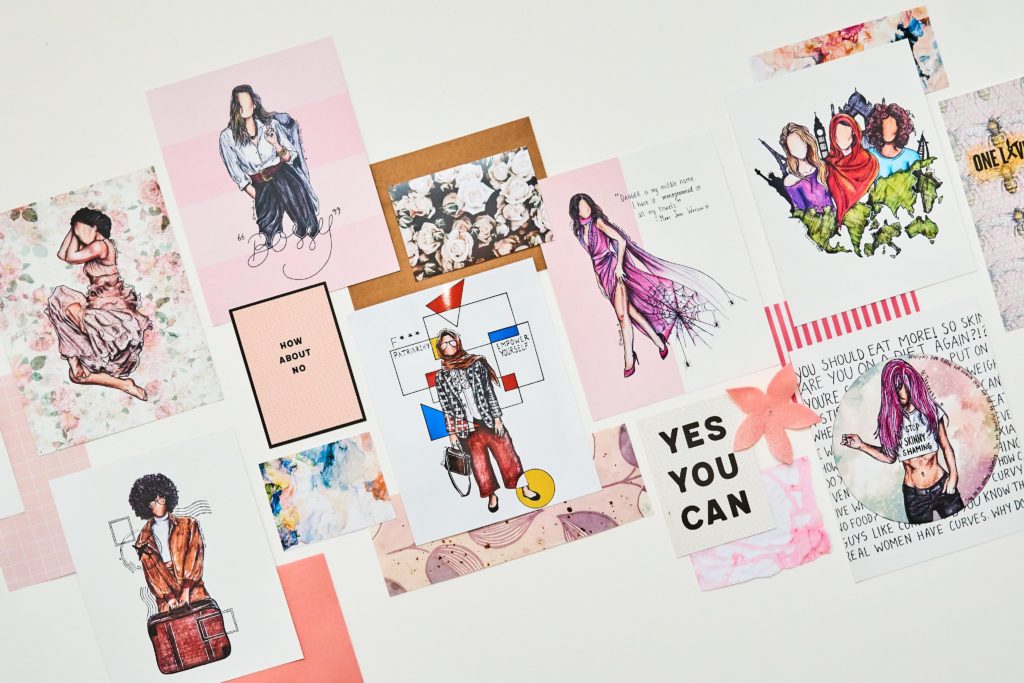
4. Make sure all your photos are evenly spaced
The even spacing is what will make your photo wall look most sleek and professional. I didn’t use a ruler to space out any of my photos but I switched between a 1 cm and 2 cm gap depending on whether I was putting up a photo next to a photo or backing paper next to a photo. I found the consistency really made the wall look amazing.
5. Mount them onto the wall with small pieces of blue tack
In the past, if I have stuck on photos onto a wall with blue tack, they have left a residue on both the artwork and the wall. So this time I made sure to use very little pieces of blue tack. However, I ensured I stuck blue tack on all corners of the art work so as to stop it from falling off the wall and I think that was the trick really!
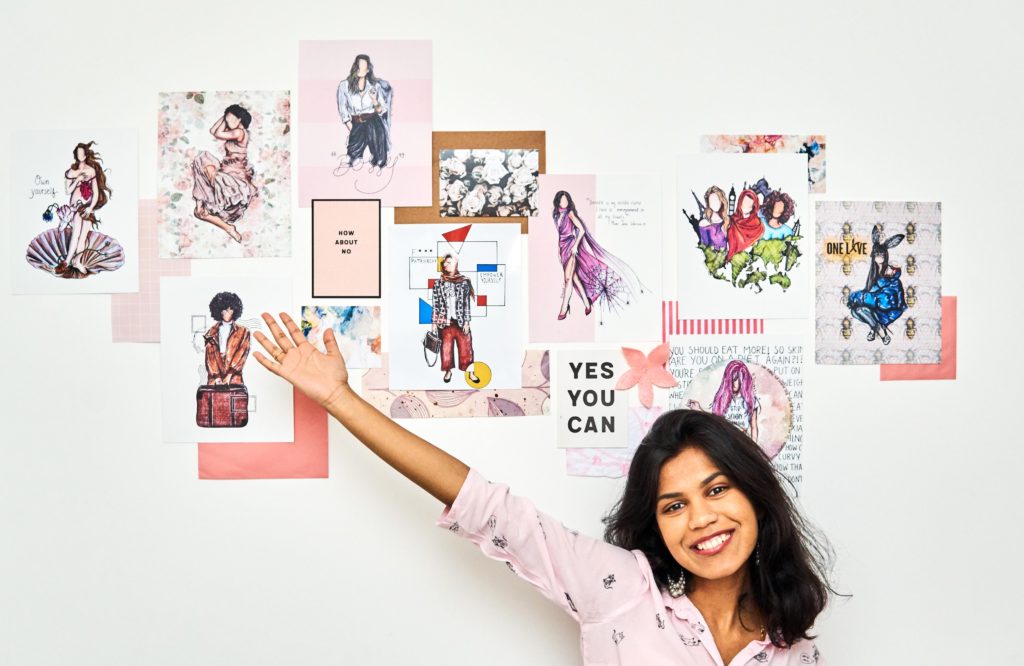
And there you have it, folks! Let me know if any of you guys try this out! I would love to see your photo walls! And if you would like any of the art prints that are on my wall, visit my shop! 😉

This is cute! I see things like this that were designed in Photoshop and used for Tumblr aesthetics (or even from the ages of Polyvore, when you didn’t need Photoshop to design that), but I was wondering how one could maybe do it in the physical realm. Thanks for this.~